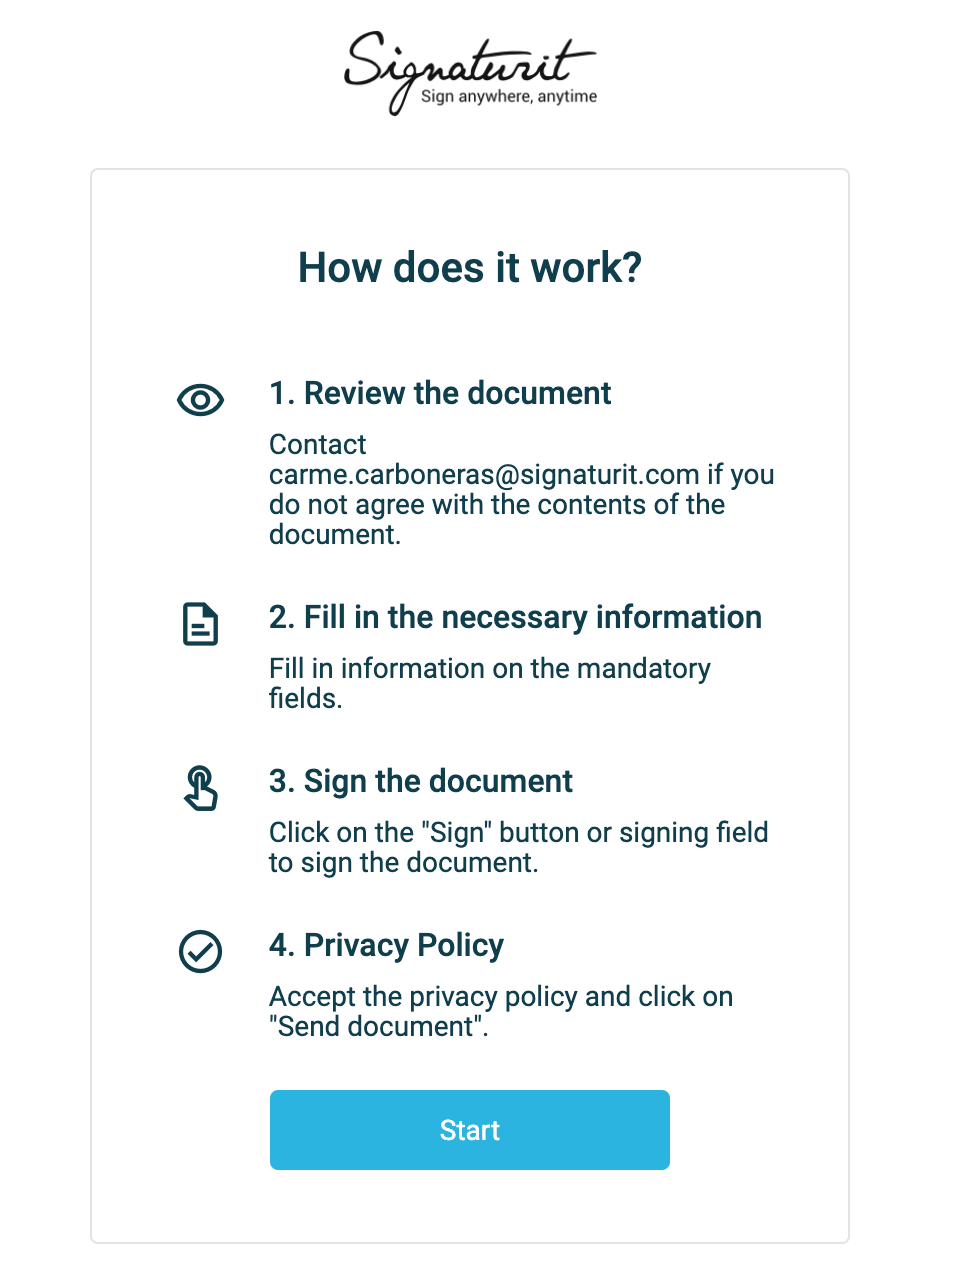
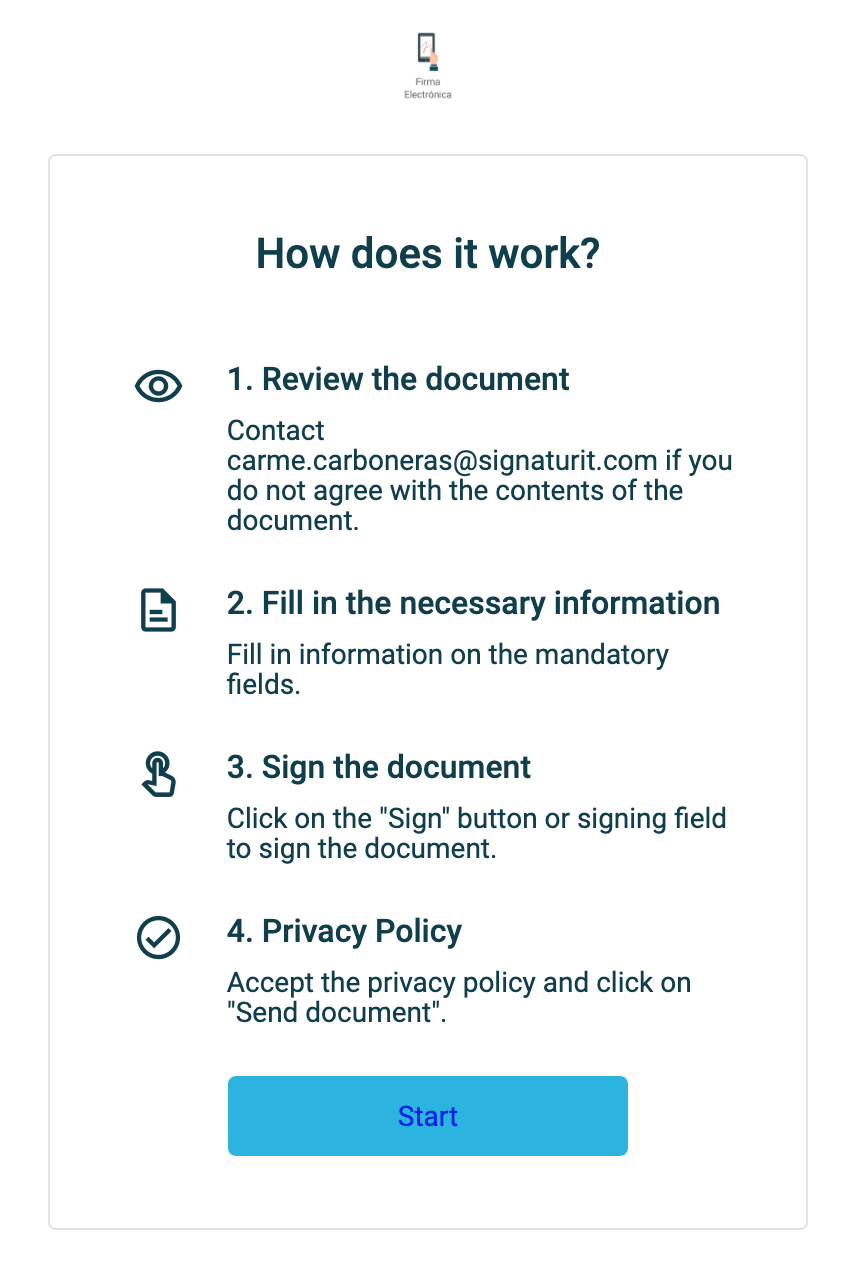
The Branding allows you to customise the signing process and adapt it to the look and feel of your company. You can customise some aspects of the communication, such as the templates of the emails sent to the signers, the colors and texts.
What can you customize?
By creating your own branding you can modify the following features:
layout_color: Customise the color of the buttons:

logo: The image of your logo must be encoded in base64 and will appear in your email notifications and in the instructions screen.

header_color: Changes the color of the upper bar.

footer_color: Changes the color of the lower bar.

signature_color: Choose between black or blue to apply the color of the signature. Blue is more accepted in traditional organisations, but both colors are equally legal and valid.
text_color: Change the color of the text in the signature application.

application_texts: modifies the text of the different existing buttons during the signature process.
application_texts [send_button]: Modifies the text included inside the button that the signer will press to complete the signature request:

application_texts [open_sign_button]: button to access the request, included in the email received by the signer:

application_texts [open_email_button] : button to access the certified e-mail, included in the e-mail received by the recipient.
Templates[xxxxxx]: Modify Signaturit's email templates. There are up to 6 email templates that you can modify and adapt to your branding. Find the detailed instructions below.
show_csv: Enable or disable the QTSP stamp on the signed document.
Create an HTML email template:
Important: Do not confuse the parameter "templates" on branding with the parameter "templates" when sending a signature request. The first one is to modify the HTML email templates used in email communications and the second one is to send a document template.
Email templates have to be uploaded in HTML format. To upload them you have to use the templates parameter and then specify the type of notification email as in the following example:
Templates[signatures_request]:<html>Email in HTML</html>
- signatures_request: this is the first email that the signer receives. This email contains a link to the document to be signed. It's mandatory to use the magic word "sign_button" so that the signer can open and sign the document.
- signatures_receipt: when the signing process ends, the user receives an email with the signed document.
- request_expired: the signer receives this email when a document has not been completed and it expires.
- pending_sign: this emails is sent when a reminder has been sent. Like in "signatures_request", the magic word "sign_button" is mandatory.
- document_canceled: let the signer knows that the signing process has been cancelled.
- emails_request: email triggered in the certified communications.
About magic words: Magic words are used as a label to receive variable information from Signaturit. You cannot add custom magic words, only the available ones can be used.
Some of them are optional and others are mandatory in some emails (like "sign_button"). Here's a list of some of the magic words you can use (all of them can be found here):
- {{sign_button}}: Tag replaced by the "Send document" button.
- {{signer_name}}: Tag replaced by the signer's name.
- {{filename}}: Tag replaced by the file's name (if your request contains more than one file, only one file name will be shown with this tag).
- {{logo}}: Tag replaced by your logo.
- {{email_body}}: Tag replaced by the message body of the certified email.
In case you want to add an image in the HTML, it has to be in the form of a URL.
Create a SMS template:
- sms-templates[sms_verify]: SMS code to access the document
- sms-templates[sms_validate]: SMS code to validate simple signature
Branding ID
Every time a branding is created, a branding ID will be obtained that will have to be indicated in the Create Signature calls with the parameter “branding_id”. In this way, you can create the brandings you want, each with its own characteristics and each call is customisable.
curl -X POST \
https://api.signaturit.com/v3/signatures.json \
-H 'Authorization: Bearer TOKEN' \
-F 'recipients[0][name]=XXX' \
-F 'recipients[0][email]=XXX' \
-F 'templates[0]=#TEST' \
-F 'branding_id=#IDBRANDING'
Signaturit takes by default the last branding created. This means that if you don't specify any branding_id in an API call or if you send from the dashboard, Signaturit will use the last branding you have created.
If you want Signaturit's default branding to be used in these cases (to avoid errors between multiple brands within a single account), once you have created all the necessary brandings, you can make a last empty branding call (without parameters). This will reset the default branding.
Example of a Branding with all custom options:
In this Postman collection that you can import you will find a complete branding request that you can use to guide you: link to the collection.
curl --location --request POST 'https://api.signaturit.com/v3/brandings.json' \
--header 'Authorization: Bearer token' \
--form 'logo=""AQUI CODIGO BASE 64' \
--form 'text_color="#ffffff"' \
--form 'layout_color="#000000"' \
--form 'application_texts[send_button]="firmar"' \
--form 'application_texts[open_sign_button]="entrar"' \
--form 'application_texts[open_email_button]="entrar"' \
--form 'application_texts[terms_and_conditions]="nuevos términos"' \
--form 'signature_color="blue"' \
--form 'show_csv="1"' \
--form 'show_biometric_hash="1"' \
--form 'show_welcome_page="1"'\
--form 'templates[signatures_request]="<html>Email in HTML</html>"'\